louise nevelson inspired art with the kiddos

about Louise Nevelson

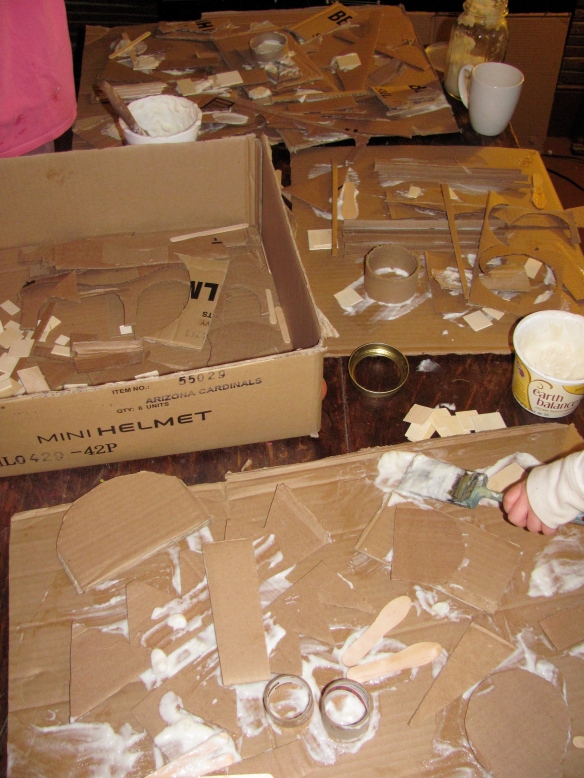
start with lots of cardboard…one large piece to serve as the base/canvas and many many smaller scraps cut/ripped down.  I cut a lot of strips with a paper cutter and also cut several piles of squares, circles and triangles.  I also gathered some various thin wood odds and bits to incorporate.  and some empty ribbon spools.

add a big container of homemade paste…we mixed some elmer’s into ours to give it a bit of extra hold.

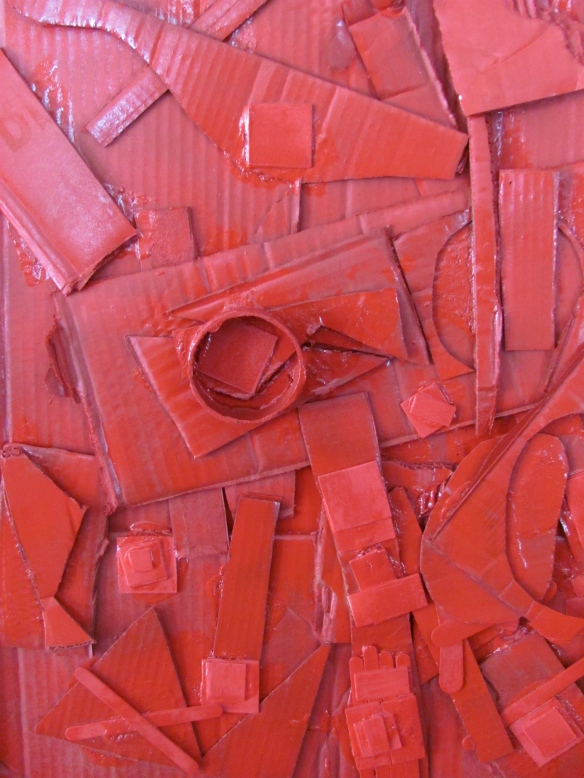
we looked at some of louise nevelson’s work prior to this project, but I didn’t give the kids any instructions beyond letting them know they had to put paste down EACH time they added something new to the piece…my 3yo had trouble remembering this step…but in the end, the paste was a sculptural element in its own right!

once your kids are happy with their piece and/or tire of art making, set the art works somewhere safe to dry for several days.it took nearly a week for ours to dry, but the paste was also inches-thick in areas!

now it’s time to shop for spray paint!  my kids only got to “shop” through my selection of colors in my studio, but a trip to the hardware store to choose from the many colors out there would be fun!

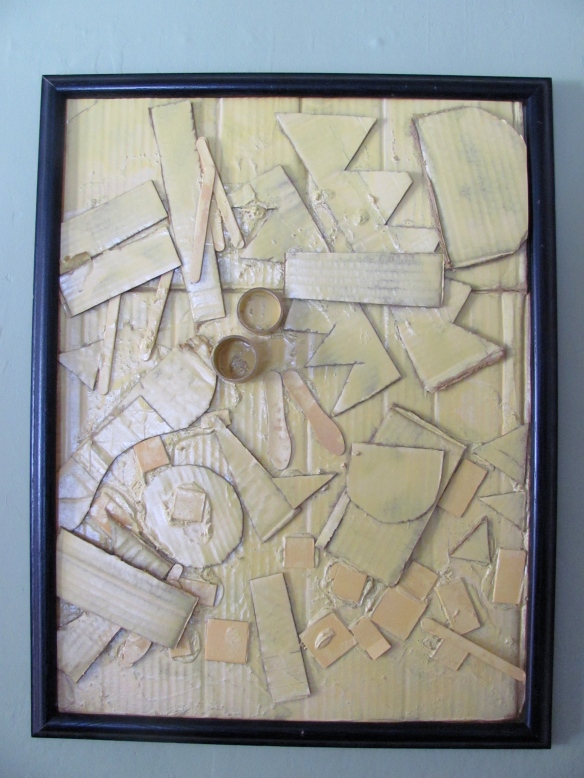
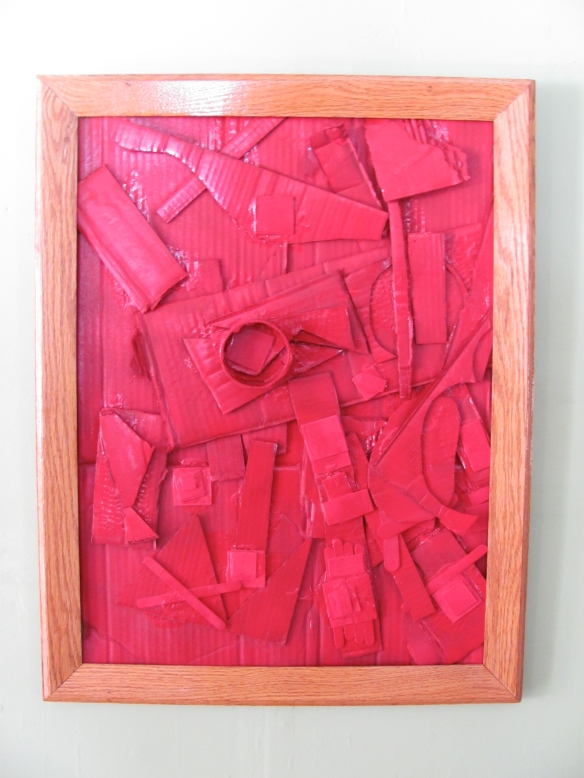
give the pieces a good coat or two of spray paint and then allow to dry thoroughly.  we loved ours so much, we framed them to hang in our living room!

cheers.


moving. 1

we’re moving!  our dream property surfaced and we’re off at a running start…

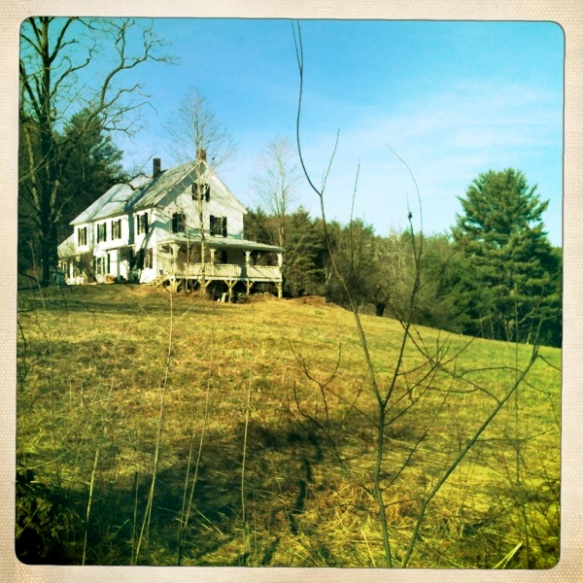
large farmhouse.  38 acres.

privacy. beauty.

my husband and I have spent the last 14+ years living in itty bitty spaces. and with kids underfoot for the past 5.5 years.  until 2 years ago, we lived in the middle of Philadelphia…which was awesome while we were there, until a yearning for our own rural upbringing surfaced.  we both grew up in small rural areas and wanted to give that to our children…we wanted to surround ourselves with green, green and more green.  we looked toward new england because it was also important to us to find a progressive area that would mirror our values and ideals.  vermont was a winner on all these fronts (and my husband got into the graduate program he wanted here- that helped).  we made the transition gradually…we spent the past two years right in a small town- within walking distance of coffee, groceries, entertainment, restaurants- this felt like a necessary and important step between metro and rural.  but then, again, that feeling crept in urging us to seek an even more rural setting, asking for land to make homesteading dreams come true.

we told ourselves we’d browse around…we’d take a look at what was out there…just, you know, to see.

and within a couple weeks of just looking, it popped up.  6 br farmhouse, 38 acres, our price range.  I thought, surely there’s something wrong with this place…but, we’ll take a look anyway, just to see!

what we found was an old farmhouse that surely needs a little tlc…care we’ve got at the ready to give freely (I do love a challenge)…but certainly not the disaster I was sure we would find (and I’m an optimist).

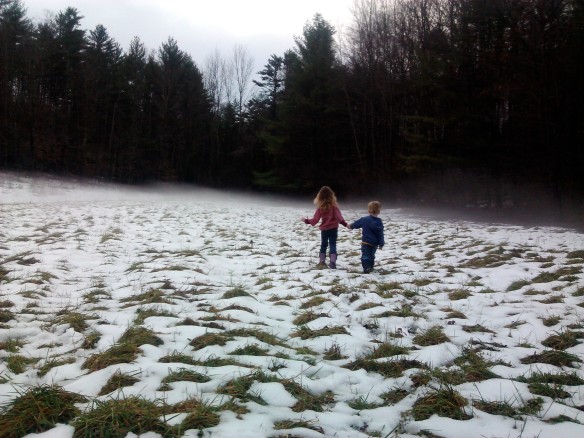
my kids charged about the enormous yard, planning their flock of chickens…planning the dog or cat we’ve never had the space or permission for…planning glorious hours outside their front door just being here…surrounded by trees- and green, and green and green.

I’m so happy, excited, ecstatic, in awe I could cry and laugh and throw myself around one of those trees in our new yard and profess undying love.

stay tuned for (sporadic) posts on the renovation, move and homesteading life of former urbanites (and all the antics that will surely follow).

Halloween: Take One

We love Halloween around here…okay, really– what’s not to love?

As an adult, and mama- one of my favorite things about Halloween is making a costume come together.  The DIY crafty maven in me perks her ears at the very word costume…oh!  the possibilities.

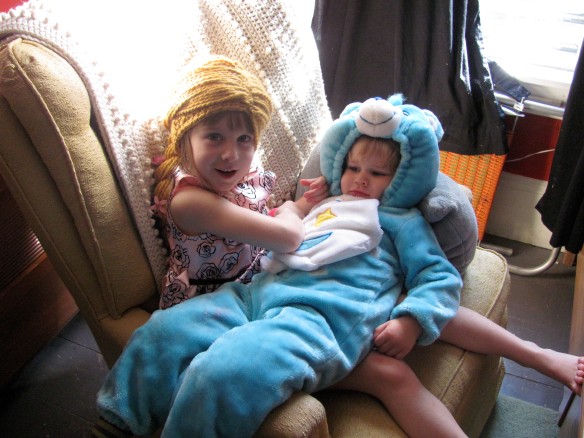
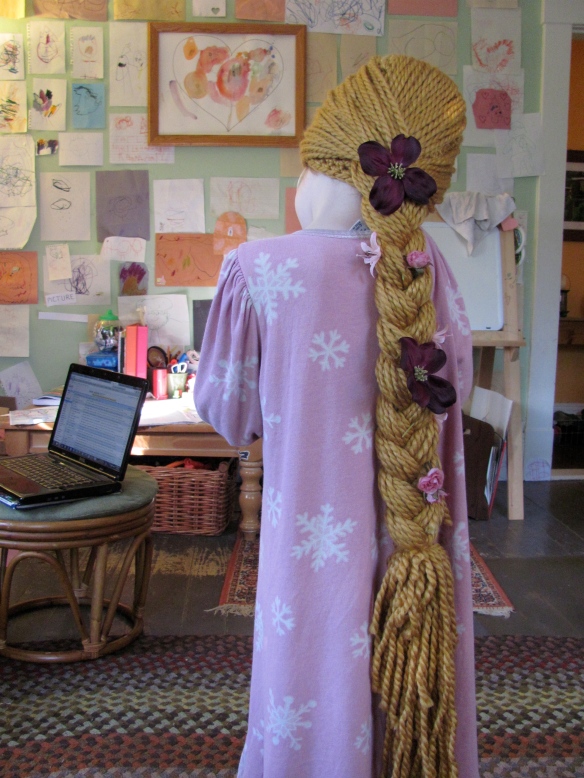
My 5yo has decided she MUST be Rapunzel this year…and really, not *just* Rapunzel, but Tangled Rapunzel.  We could buy the whole shebang at the store- but I love the fun and challenge of making it…and Emma can customize and get in on the fun- she picked out the dress pattern, the colors of fabric at the store for her dress and the flowers for in her wig…I think she’s having as much fun as me!  She’s extremely excited to help me sew the dress once I get the pieces cut.

She got her wig this morning and was thrilled!

a little sumpin for mama

I went to my favorite local yarn store about a week ago with an open mind.  Something for me…that was my criteria.

I came home with The Fiber Company Canopy Coqui in a wonderful warm, brown color.

I had a feeling I’d end up with another cowl…they are pretty strait forward, and I wear them daily through the Vermont fall/winter/spring.  The shake up came with the stitch.  I had never tried this particular crochet cable stitch…once I got the hang of it, it was easy…and I think the texture is lovely!

I used about 2.5 skeins for this one…the yarn is nice and soft and the perfect weight for day-long indoor/outdoor wear.

crochet cable stitch:

make a multiple of 4 ch plus 2.  Row 1: 1 sc in 2nd ch from hook, 1 sc in each of rem ch, turn.  Row 2: Ch 3, *skip next sc, 1 dc in each of next 3 sc, yo, insert hook from front to back in last skipped sc and work a dc; repeat from * to end, 1 dc in last sc, turn.  Row 3: Ch 1, skip first dc, 1 sc in each dc to end, 1 sc in 3rd or 3 ch, turn.  Repeat rows 2 and 3 to form pattern.

**when working in the round as I did, ignore turns, also ignore ch 3 in row 2, and ch 1 in row 3.

finished *just* in time- now on to the Halloween costume check list!!!